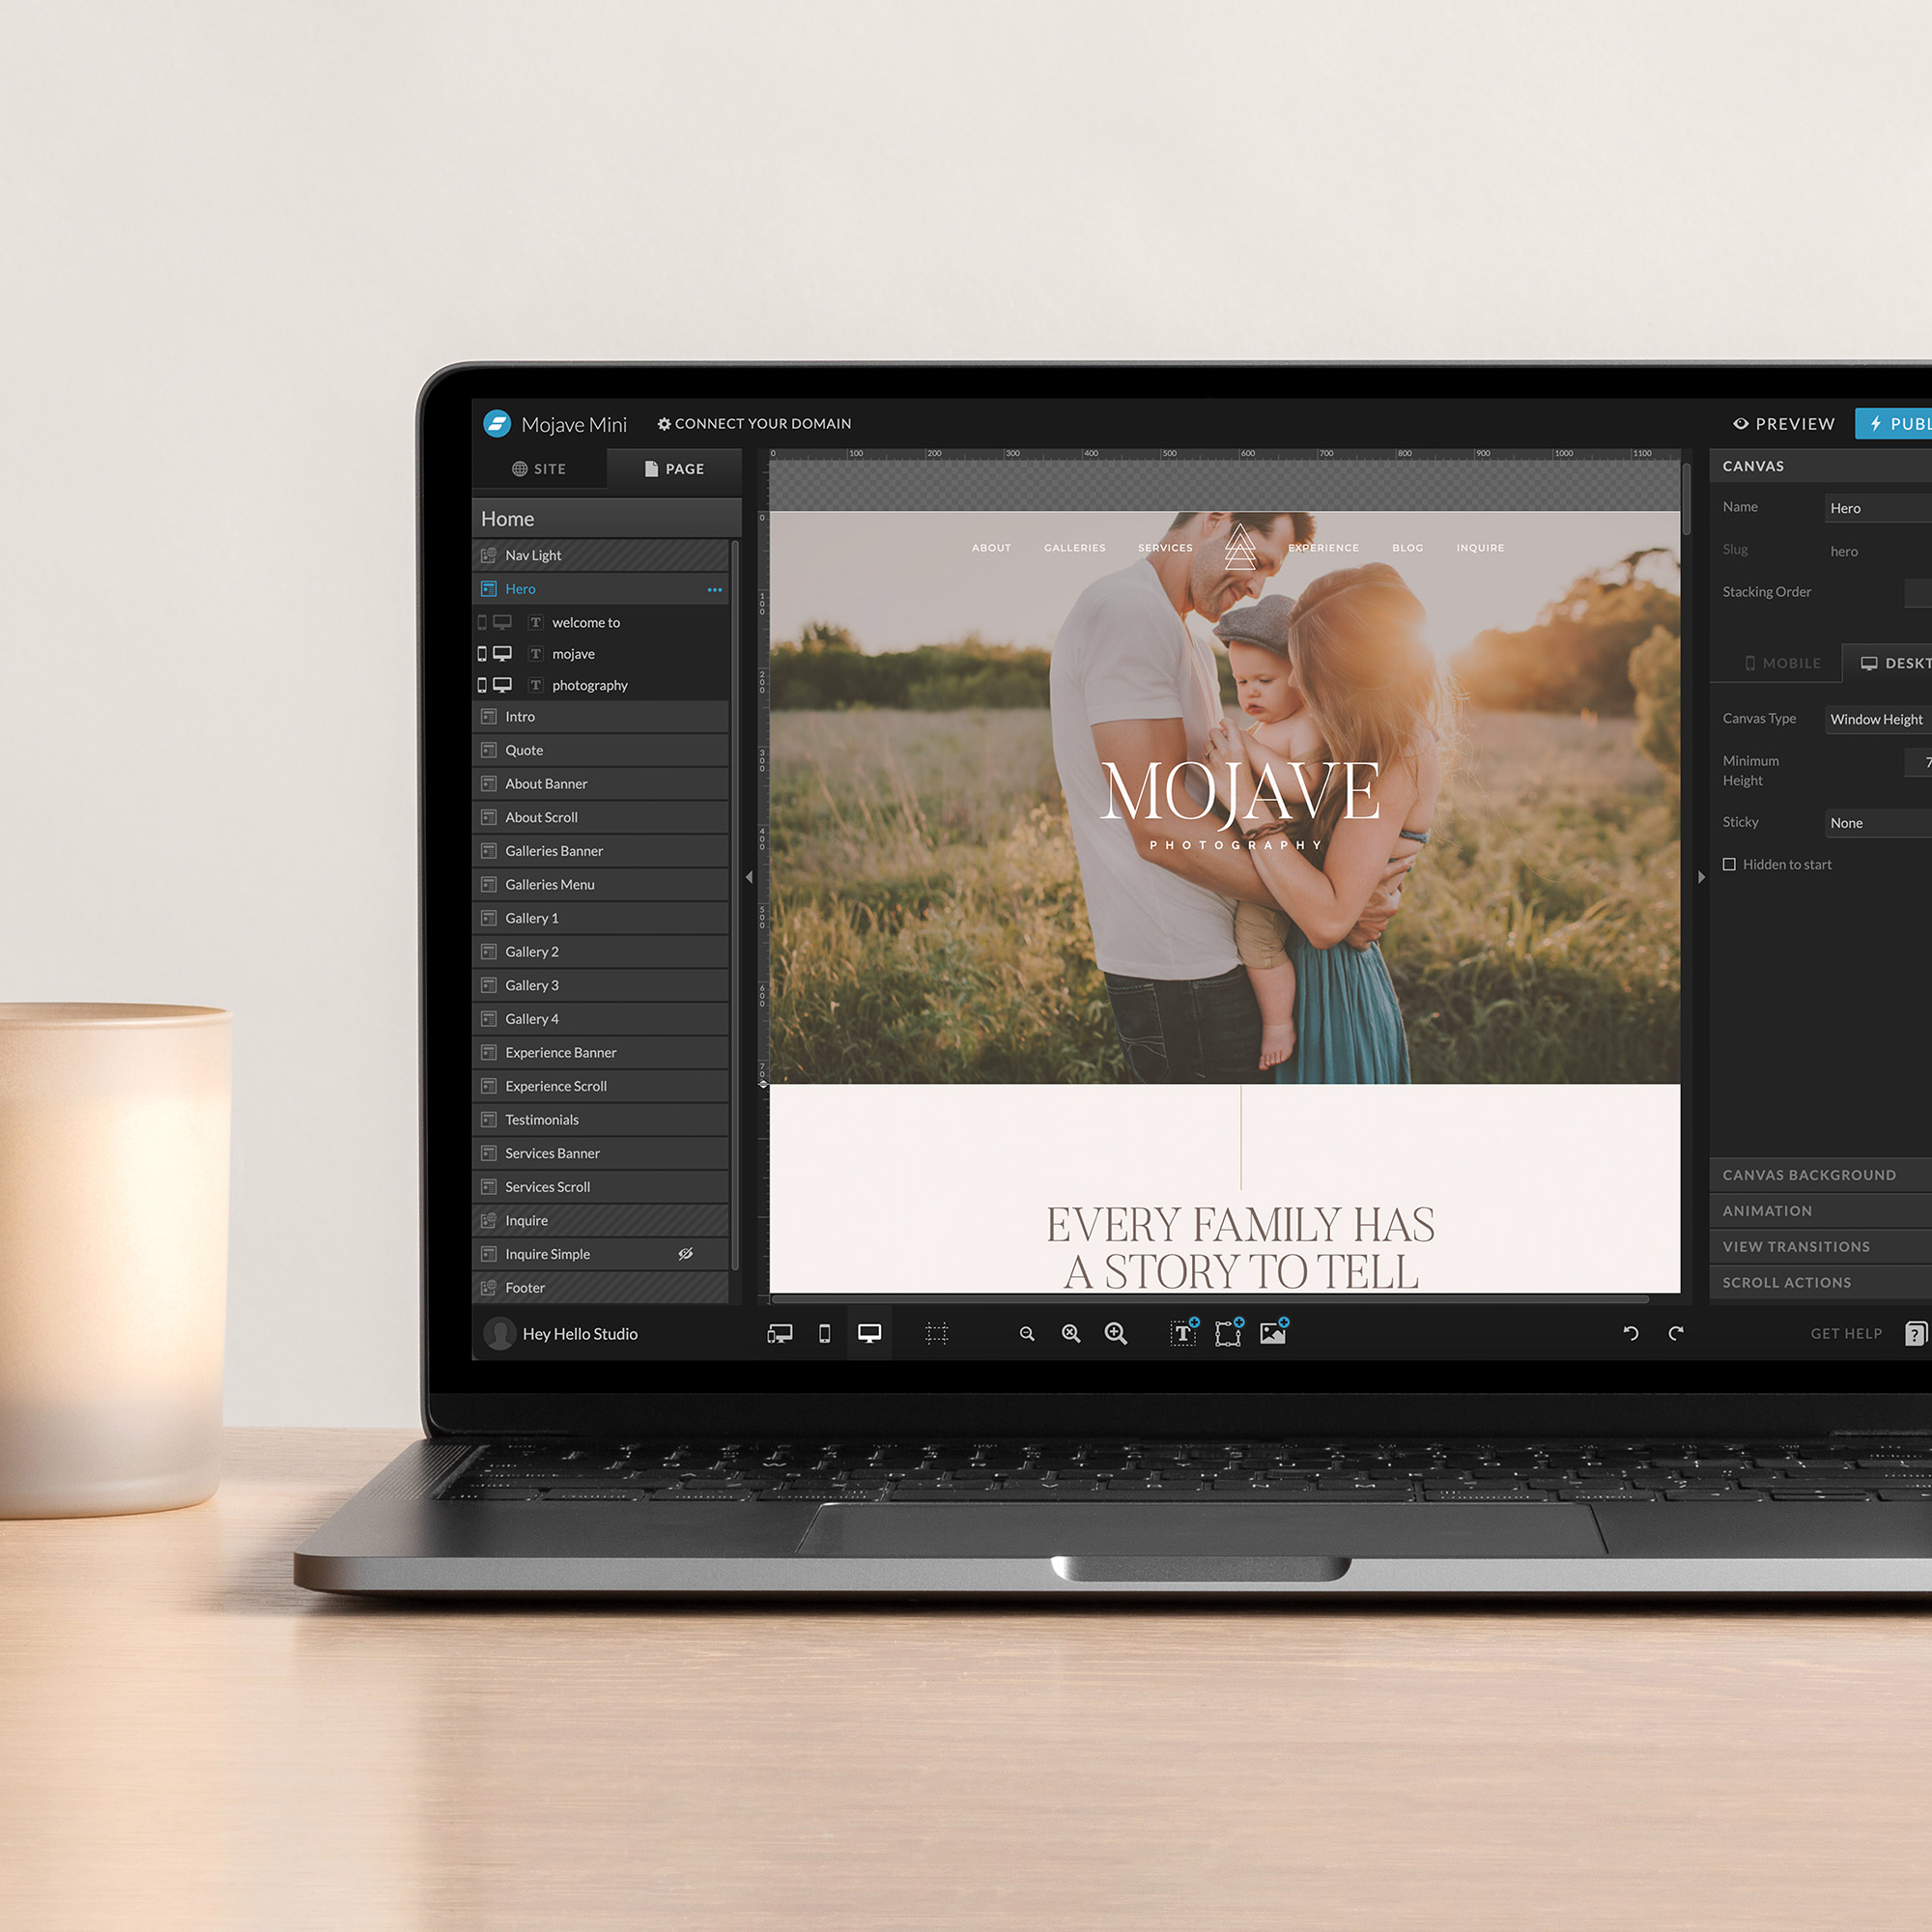
So, you’ve purchased your dream Showit website template, and need to get it added into your account? In this tutorial, we’ll walk you through exactly how to get it loaded, so you can start customizing your new website!
Before diving in, make sure you’ve created a Showit account, then follow the steps below.
1. Open the Showit Settings
Log into the Showit design editor and click on your name in the lower left-hand corner to open the settings dialog box.

2. Create a New Design
Click the option to “Create a New Design.”

3. View Your Designs
Your library will open, and you want to click on the “Your Designs” tab in the top right corner.

4. Add Design To Library
Click the blue button at the top of the screen that says “Add Design to Library.”

5. Enter your Shared Design Key
When you purchased your template, you should’ve gotten a Shared Design Key (or “Share Key”). Copy that and paste it into the field labeled “Shared Design Key.” Make sure there are no spaces before or after the Share Key.
After clicking “Enter“, you’ll see a preview of your design. Click the button that says “Add Now.”

6. Select your Template
You’ll be redirected back to your library, where you should be able to select your new template.
After clicking on it, you’ll see a preview of the design again. Click the button that says “Start with this Design.”

7. Start Customizing your Template
Your template should open in the design editor, and you can get started customizing it!

Previous Post:
Next Post:
Up next:
fun & free things
Our most popular
The Best Stock Photo Resources for your website, social media, and more!
A fill-in-the-blank workbook to quickly & easily nail down your brand strategy.
Identify your brand style & use it to stand out & attract your dream clients.